1 |
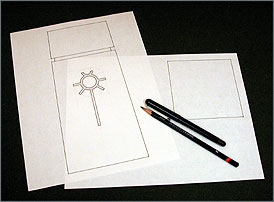
The first thing I did was to take my drawing,
resize it to my liking and draw it out with nice clean lines. Once this
was done I could use it as a template. By doing this, I could create a
veritable army of obelisks if I so desired. Since all the sides would
be the same width, I only needed to draw it out once.
Obelisk Template: [PDF was unrecoverable]
|
2 |
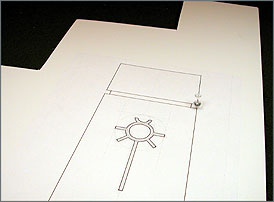
Once my template was finished it was time
to transfer it to the material that would make up the majority of the
scenery piece. I choose to use foamcore with a thickness of 1/2".
This would be durable enough that I wouldn't have to reinforce the interior.
Using the template and a push/drawing pin, I marked out each corner of
the drawing. After this was done, I connected the dots to make it a little
easier to see what I was aiming for when I began to cut out the necessary
pieces. |
3 |
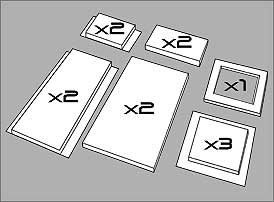
In this illustration, you can see how many
of each side you'll need before you're ready to assemble your obelisk.
You will need 4 large sides, 4 small sides, 3 squares and 1 hollow ring
for the indented centre of the obelisk. You may have noticed that some
of the pieces have bevelled edges. These are to create right angles when
you assemble your obelisk and add a bit more strength and stability. These
right angles are accomplished by using a very sharp X-acto knife and cutting
only partially through the foamcore. The unwanted foam is then ripped
from your piece, leaving behind the card on the opposite side. |
4 |
After I had cut out all my pieces, I selected
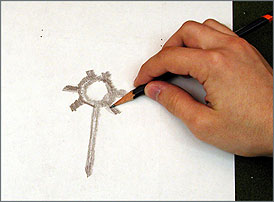
one of the long sides and picked up my template again. The Necron icon
I had drawn would be difficult and time-consuming to redraw on the foamcore.
To avoid that inevitable horror, I simply took a pencil and rubbed graphite
all over the back of the template. This would make it easier to transfer
onto the foamcore. |

